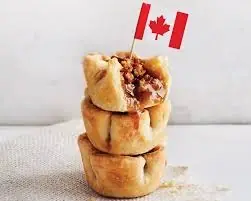
Looking for a Homemade Butter Tarts Recipe?
When it comes to iconic Canadian desserts, homemade butter tarts are the MVP.
They’re flaky, gooey, and so ridiculously good they’ve become a staple at family gatherings, holiday feasts, and bake sales across the country. Best of all? They’re easier to make than you think.
Here’s your ultimate guide to making butter tarts that’ll have everyone asking for seconds (and thirds). Let’s keep it simple, fun, and delicious.

What Are Butter Tarts?
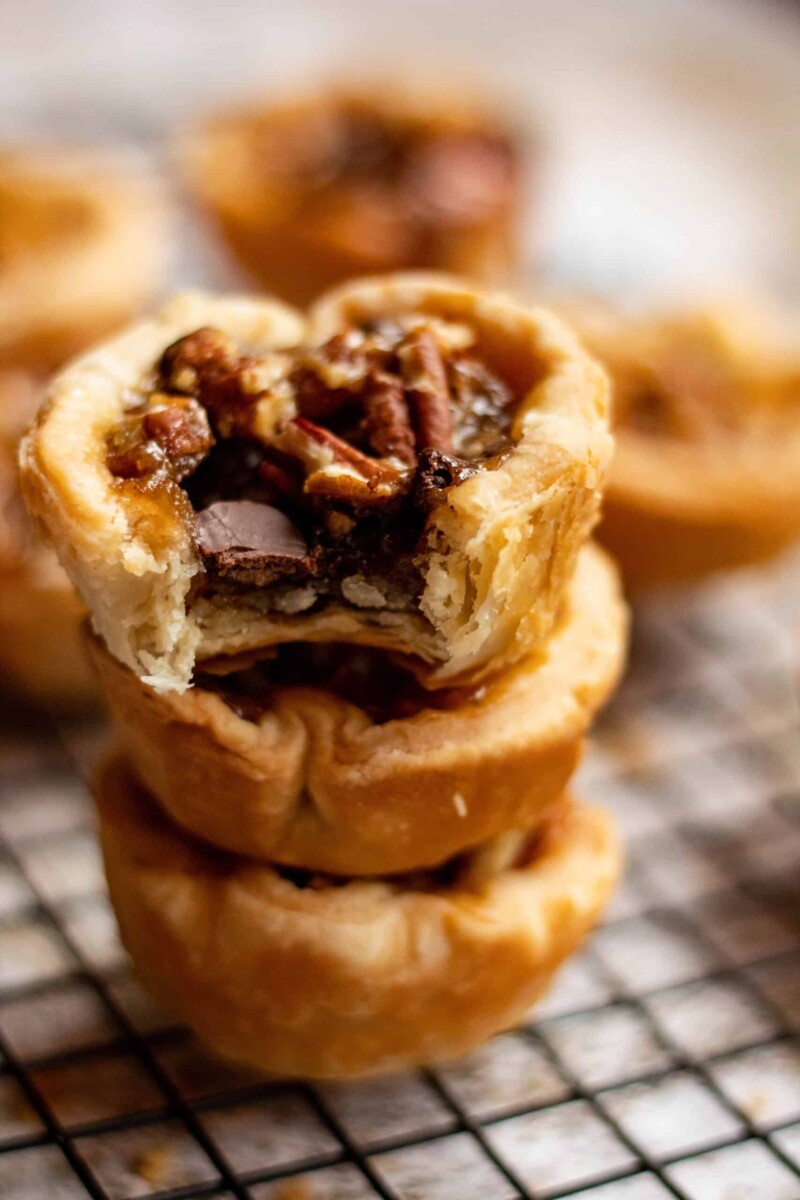
For the uninitiated, butter tarts are handheld pastries filled with a rich, gooey filling made from butter, sugar, eggs, and sometimes a little cream. Depending on your preference, the texture can range from runny to firm, and the filling can be jazzed up with add-ins like raisins, pecans, or chocolate.
Butter tarts are uniquely Canadian and have been a dessert staple since the early 1900s. Whether you’re making traditional butter tarts or experimenting with flavors like pecan or chocolate, the buttery crust and sweet filling always deliver.

Ingredients You Need for Homemade Butter Tarts

Homemade Butter Tarts: A Classic Canadian Dessert
Ingredients
- 2 cups all-purpose flour
- 1 cup cold unsalted butter, cubed
- 1/4 cup ice water
- 1/4 tsp salt
- 1/2 cup unsalted butter, softened
- 1 cup brown sugar
- 2 large eggs
- 1/2 cup corn syrup or maple syrup, for a Canadian twist
- 1 tsp vanilla extract
- 1/2 cup raisins, chopped pecans, or chocolate chips, each and Optional
Instructions
- Make the Pastry
- In a large bowl, combine flour and salt.
- Cut in cold butter until the mixture resembles coarse crumbs.
- Gradually add ice water, one tablespoon at a time, until the dough holds together.
- Wrap the dough in plastic wrap and chill for at least 30 minutes.
- Prepare the Filling
- Preheat your oven to 375°F (190°C).
- Beat the softened butter and brown sugar until fluffy.
- Add eggs, corn syrup, and vanilla. Mix until smooth.
- Assemble the Tarts
- Roll out the chilled pastry on a floured surface to about 1/8 inch thick.
- Cut into circles using a cookie cutter and press into muffin tins.
- Spoon the filling into the pastry shells, filling about 3/4 full.
- Add raisins, pecans, or chocolate chips if desired.
- Bake
- Bake in the preheated oven for 15-20 minutes, or until the filling is bubbly and the crust is golden.
- Let the tarts cool in the pan for a few minutes before transferring to a wire rack.
RECOMMENDED PRODUCTS
As an Amazon Associate and member of other affiliate programs, we earn from qualifying purchases.
Butter Tart Variations You Need to Try
1. Pecan Butter Tarts
Add chopped pecans to the filling for a nutty, crunchy twist. These are especially popular around Thanksgiving.
2. Gooey Butter Tarts
For an ultra-rich version, increase the butter in the filling slightly and underbake by a minute or two for a runnier texture.
3. Chocolate Butter Tarts
Stir chocolate chips into the filling or drizzle melted chocolate over the cooled tarts. Perfect for chocoholics!
4. Traditional Butter Tarts
Keep it classic with the original recipe. No extras, just buttery perfection.
5. Maple Butter Tarts
Replace corn syrup with pure Canadian maple syrup for a sweet, earthy flavor that’s oh-so-Canadian.
Tips for Making the Best Butter Tarts
- Use Cold Butter: Cold butter in the pastry ensures a flaky crust.
- Don’t Overfill: The filling will bubble and rise as it bakes, so leave room.
- Chill the Dough: Chilled pastry is easier to work with and bakes more evenly.
- Experiment: Try different add-ins like shredded coconut, crushed caramel, or peanut butter for fun twists.

Why Are Butter Tarts Such a Canadian Favorite?
Butter tarts are more than just a dessert—they’re a slice of Canadian culture. Their origins trace back to pioneer times, and they’ve remained a nostalgic treat ever since. Whether you’re enjoying them at a local bakery, a holiday dinner, or fresh from your oven, butter tarts always hit the sweet spot.
FAQs About Butter Tarts
1. Can I freeze butter tarts?
Absolutely. Store them in an airtight container and freeze them for up to three months. Thaw at room temperature before serving.
2. How do I make flaky pastry?
Use cold butter and work quickly to avoid over-mixing the dough. Chilling is key.
3. Can I use store-bought pastry?
Of course! While homemade pastry tastes better, store-bought is a great time-saver.
4. Why is my filling too runny?
It’s likely underbaked. Bake until the filling bubbles and the edges are golden.
5. What’s the best butter tart variation?
It depends on your taste! Pecan and maple butter tarts are crowd favorites.
Final Thoughts on Homemade Butter Tarts Recipe: A Classic Canadian Dessert
Butter tarts are not just a dessert; they’re an experience. They’re the kind of treat that brings people together- whether it’s around a holiday table, at a potluck, or as a sweet reward on a quiet afternoon. What makes them even better? Their versatility. You can stick to the classics for that timeless buttery goodness or go bold with creative twists like pecan, chocolate, or maple.
Even if you’re new to baking, butter tarts are forgiving and fun to make. The simple ingredients and straightforward steps mean you’ll have a batch ready in no time. Plus, there’s something deeply satisfying about pulling these golden, bubbling beauties out of the oven.
So, grab your apron, preheat that oven, and get ready to wow your family, friends, and yourself with homemade butter tarts. Once you’ve had one, you’ll understand why these little Canadian pastries have been loved for generations.
For more tasty Canadian ideas, check out:

